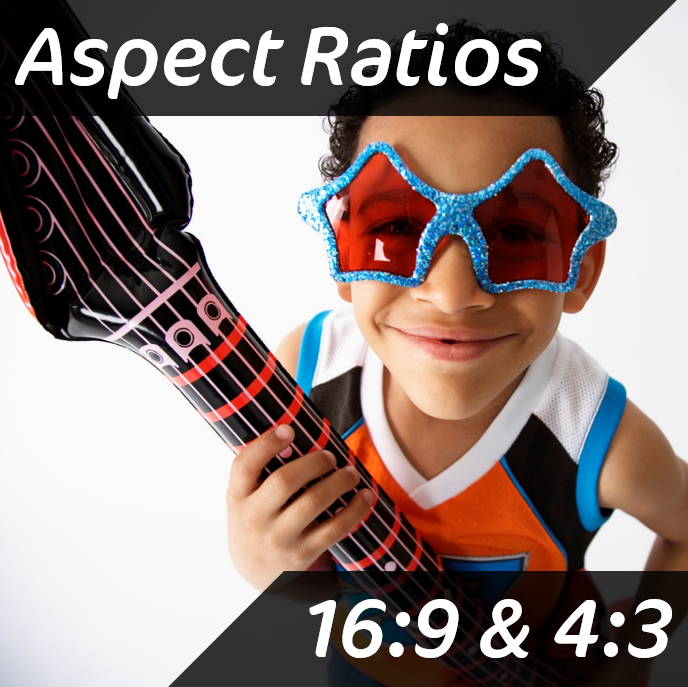
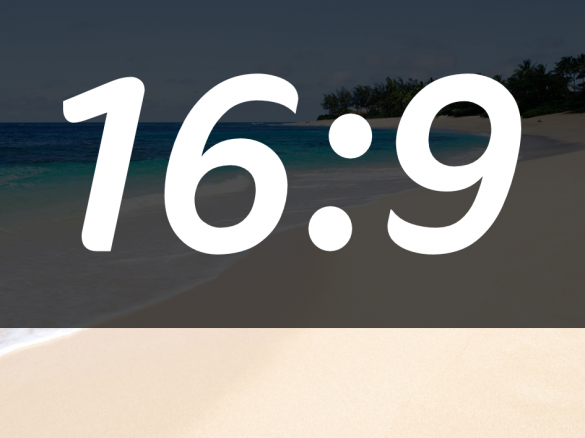
Since PowerPoint 2013 the default slide template for new presentations is set to use the slide aspect ratio of 16:9 to follow the modern widescreen view that we’re all used to in our TV rooms these days.
Of course you can change that default but what if you want to create 16:9 slides and you already have a library of images that are 4:3 and want to repurpose them?
Below are a few techniques to help, all done within PowerPoint.
Stretched Distort
The simplest, yet sometimes incorrectly used technique, is to stretch the 4:3 photograph to enlarge it the horizontal axis (or compress it in the vertical axis). This is a complete no no if you’re using branding elements since stretching an image distorts it and a marketing person won’t thank you for effectively destroying their brand image. But for some photographs, the technique can work well, especially for textures. What you have to ask yourself is “does the image contain something recognisable to the human eye that when distorted will be noticed?”. So pictures of people are out as you’ll just make them look fat!
In this 4:3 photograph, we have an image of the textured surface of a rock:

We’ve added a rectangle which se set to 16cm by 9cm and made it semi transparent. We’re going to reuse this mask throughout this post so that we have a shape on the slide to align our pictures to. Then we stretched the photograph so that the right hand edge aligned with the right hand edge of the mask:
With the mask hidden, the resulting 16:9 photograph looks as natural as the original, because of the subject matter:

The Geometry of Aspect Ratios
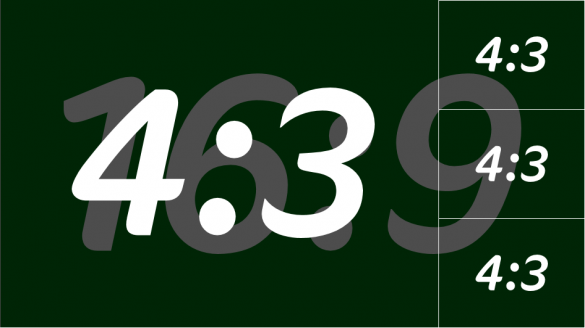
The next thing to note and probably the easiest thing to do with multiple 4:3 images is to recognise that a 16:9 slide can be precisely built with four pictures of 4:3 aspect ratio, without gaps.
Here’s our starting slide:

If we then add a 4:3 image and resize it without changing its aspect ratio (see how below) so that its height matches the 16:9 slide, we get this:
That leaves some “white space” on the right, on the left or split either side as you prefer. You could leave this blank, fill it with a complementary colour from the picture, add text or a series of icons etc. In our example, that space on the right is the same size as three smaller 4:3 images which we could use for other pictures:
So putting that all together, you can conceive slides like this where the main image presents the overall theme and the three smaller images illustrate the theme in more detail. You can think of this structure as bullet points by pictures!

If this concept is something you’re likely to use, you could also create a custom layout in your PowerPoint slide master and add the four picture placeholders. This then makes adding 4 images really easy back in any slide that uses that custom layout as you just click the placeholder, select a picture and PowerPoint does all the resizing and cropping for you.
Cropped 4:3
Another way to use a 4:3 image to occupy the whole real estate of a 16:9 slide is to use cropping. Because this process is subtractive i.e. some of the source image isn’t used (in PowerPoint it can be retained though), the subject and composition of the image needs to be carefully selected. To do this, you have to imagine a 16:9 mask overlaid on top of your 4:3 image when selecting a candidate picture.
Here’s our chosen 4:3 picture which is where we’d like to be writing our next blog post from:

When looking at this, we decide we could afford to loose part of the lower section of the image as “imagined” by our 16:9 mask overlay:
So using the PowerPoint crop tool (see how below), we arrive at a nice wide screen version of the picture like this:

Flipped Slither
With some pictures, it’s possible to extend the width of a 4:3 image by taking a slither off of one side of it and adding it to the original image. This technique is best used for images that don’t have diagonal elements running through the image. You couldn’t do it [easily] with a picture of a mountain for example.
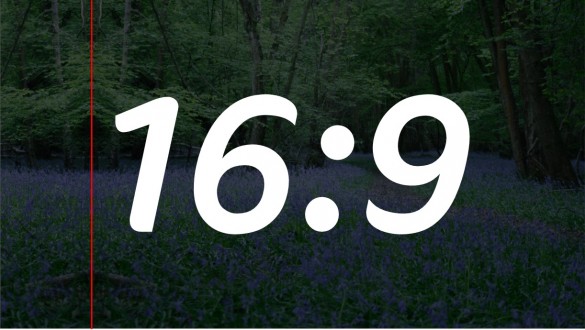
In our sample, we took a photograph of a forest floor filled with bluebells:
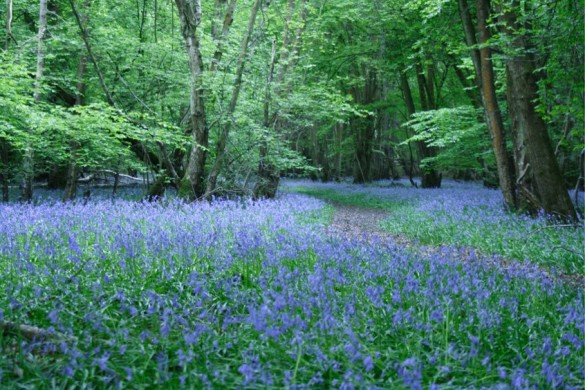
Since the path on the right hand section of the photograph is a diagonal element so that edge won’t work very well. On the left hand side, the tree trunk is not vertical but it might be ok so let’s use the left hand edge.
First thing to do is to take a copy and flip it horizontally:
Next, we align the right hand side of this flipped copy with the left hand side of the original (we added a red line just so you can see where the join is):
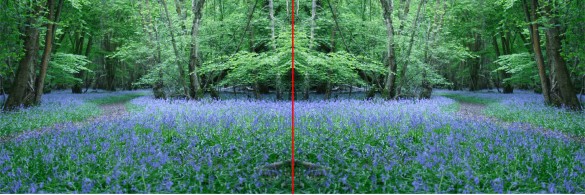
Finally, we crop the flipped copy to the 16:9 mask that we overlaid:
And here’s the final 16:9 photograph:

So was our choice of image a good one? It’s not bad, but it’s not perfect either. The duplicate angled tree at the mirror edge draws your eye to that part of the photograph unnecessarily so we would go and spend more time finding a better source shot.
Centred Duplicate and Flip
Another technique that is dependant on the type of image you choose is to take a copy of the picture, flip it and then align it with the original to create a mirror effect. The two pictures can then be cropped to match your 16:9 aspect ratio.
For this, we’re going to use a person:

The first thing to do is take a copy and then flip it horizontally in PowerPoint:

Next, we align the two pictures. Note that in newer version of PowerPoint, this is quite easy to do using the guide lines that appear but you could also use the Stack Shapes feature of our G-Tools add-in for PowerPoint:

We chose to optionally group the two pictures to avoid them getting separated and to aid resizing in PowerPoint before finally cropping to our 16:9 mask:

Here’s our completed 16:9 PowerPoint slide:

Here’s another couple of examples. The first uses the same forest shot from the previous section and the second uses a snow scene that had non-centred vehicle tracks. Both have had an additional PowerPoint vignette effect applied to them which we discuss in this blog post:


Forget 4:3!
Of course, there is another way to use images to occupy your 16:9 slide. Find a 16:9 image! It may seem obvious but you can use one of a number of online stock photography providers to filter your images searched to 16:9.
Additional Help
Resize PowerPoint picture whilst maintaining aspect ratio
There are two ways to maintain the aspect ratio when resizing.
Using the Shift key:
- Select your picture
- Hold the Shift key down on your keyboard
- Drag one of the four corners of the image to resize the picture whilst keeping the Shift key pressed
- Note: you can also add the Alt key for precision and the Ctrl key to resize whilst keeping the picture centred at the same place on the slide.
Using Locked Aspect Ratio:
- Select your picture
- Click the Format tab in the PowerPoint ribbon
- On the far right hand side of the ribbon click the small arrow in the bottom right of the Size group to open the Format pane
- Check the box for Lock aspect ratio
- Drag one of the four corners of the image to resize the picture
- Note: you can use the Alt key for precision and the Ctrl key to resize whilst keeping the picture centred at the same place on the slide.
Cropping in PowerPoint to a specific aspect ratio
To crop a picture in PowerPoint 2013, follow these steps:
- Select your picture
- Click the Format tab in the ribbon
- On the far right hand side of the ribbon, click the drop down part of the Crop button
- Select Aspect Ratio and choose the aspect ratio you want
- The picture now enters crop mode and you can move the image within your selected aspect ratio mask
- When happy, do one of the following: Click the Crop button, press Escape, click outside of the picture
Credits
Thank you to Matteo Cassese for stimulating the thought process with his question on LinkedIn and Richard Kline for his suggestion which lead to us add the Flipped Slither technique.
Need Help?
If you need professional help with any form of presentation creation (regardless of the software you use), presenter training, e-learning course construction, macro or add-in development for Microsoft Office, then please get in touch with us. We have a lot of love and experience to offer our clients.
[contact-form to=’talk@gmark.co’ subject=’Request for help (via 16:9 versus 4:3 post)’][contact-field label=’Name’ type=’name’ required=’1’/][contact-field label=’Email’ type=’email’ required=’1’/][contact-field label=’Website’ type=’url’/][contact-field label=’Comment’ type=’textarea’ required=’1’/][/contact-form]
Well… you’re tricky J. – trapped between YAY and NAY? – you went the easiest WAY using landscapes didn’t you? 😉
Tinny note… there (at LI) was a (non credited) short and straight, comment which summarized it all. 🙂
I kind of assumed that this was the intention of the question – but maybe you have another idea 🙂 What’s the comment you’re referring to?