If you’ve never used 3D Models in a PowerPoint slide show before, you’re in for an mind-blowing experience.
PowerPoint 2016 (with Office 365 subscription) supports the new 3D Model engine and when coupled with Morph transitions you can create some stunning effects, which when used carefully can enhance your story-telling approach to presentation design.
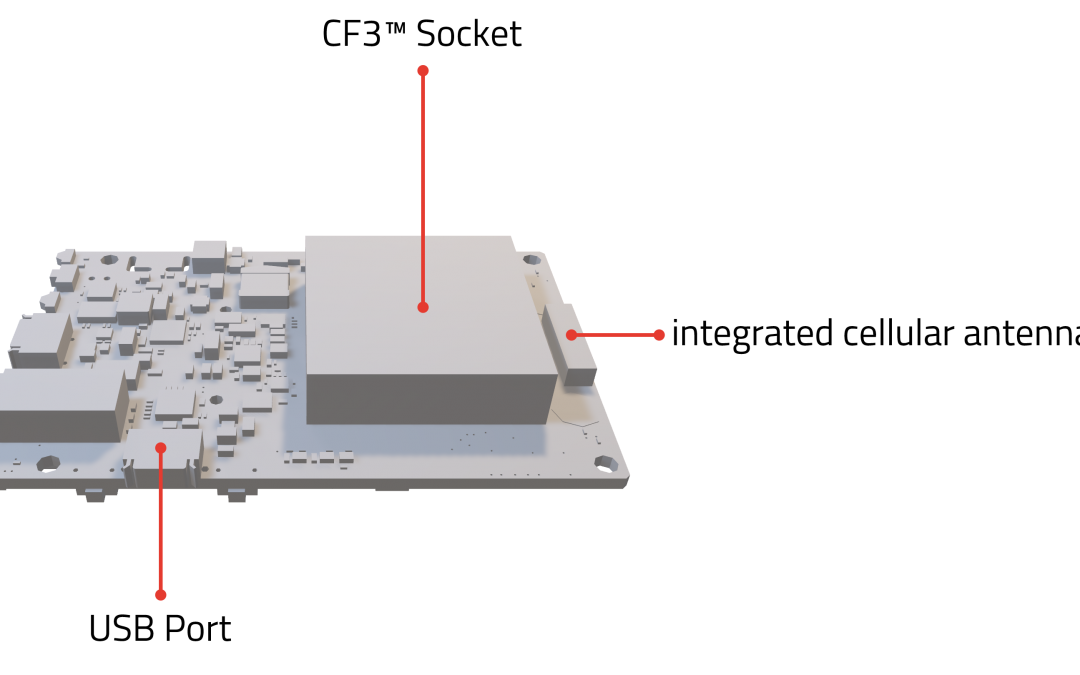
3D Models shouldn’t be confused with 3D Effects. 3D Models are special files that represent objects in three dimensions. They are especially useful for illustrating physical objects such as a product.
The video below was created entirely with PowerPoint 2016. Thank you to Sierra Wireless for granting permission to publish this content.
The first part should the 3D product in various positions and highlights important elements. Then the second part shows how the product is connected to another device.
How to use 3D Models in PowerPoint
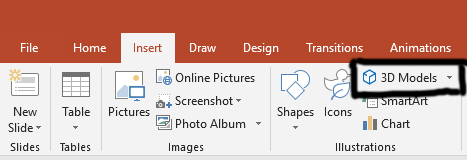
First, check that you’re using a version of PowerPoint that supports 3D Models. The easiest way to do this is to look at the Insert tab and see if 3D Models is present in the Illustrations group:
Assuming it’s there, you can either insert a model from the Microsoft collection or use an existing file based on the six supported formats:
- fbx : Filmbox Format
- obj : Object Format
- 3mf : 3D Manufacturing Format
- ply : Polygon Format
- stl : StereoLithography Format
- glb : Binary GL Transmission Format
Once you’ve inserted the model, you can rotate in the X, Y, Z planes using the control handle on the object. You can also set the view more precisely using the context-sensitve Format tab when you have a 3D model selected.
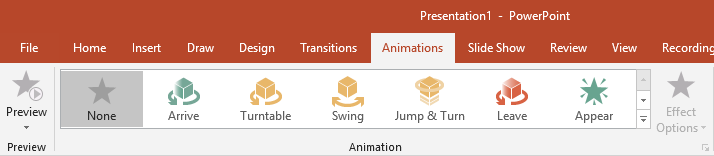
In addition to the support of 3D Models, there are five new animations specifically for 3D Models:
- Arrive
- Turntable
- Swing
- Jump & Turn
- Leave
These obviously have the potential to be misused and we prefer to use the incredibly powerful Morph transition to create carefully crafted message-enhancing sequences like the one in the video above.
To use Morph:
- Create a duplicate of the slide with your 3D Model on it
- Change the view of the 3D Model on the duplicate slide
- Set the Transition effect to Morph on the duplicate slide:

Now when you run the slide show, you’ll see a smooth transition between the two states of the model.