Photographs are Amazing
They capture those tiny moments in time that we can all share and cherish for a lifetime. But with the advent of the digital camera, we take hundreds, no, thousands of pictures in relatively short periods of time. By the time my kids were just a couple of years old, I’d amassed over 20,000 pictures alone.
Who has a house with enough wall space to display them or the time to create physical albums that would in many cases sit collecting dust on a shelf? Yet we all want to see them, so how?
Here’s a Good Idea
Do not fear, there’s now a really clever and highly visual way to display your collection of valuable photos without buying a new house. Create a photographic mosaic using a master photograph and a set of library photographs. In this post, we’re using software for the Mac but there are equivalent tools out there for Windows if you take a moment to search for them.
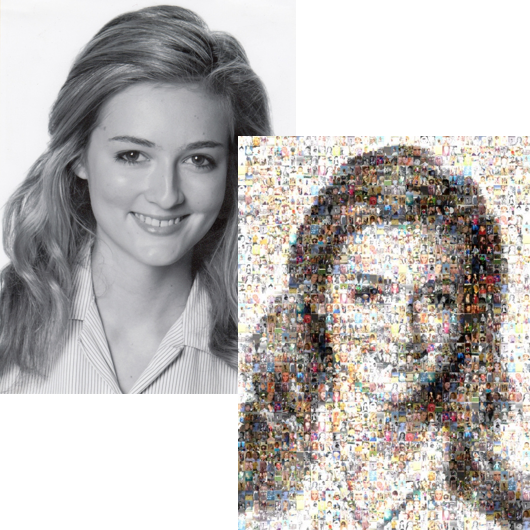
In this example we took a black and white head shot of our subject for our master:

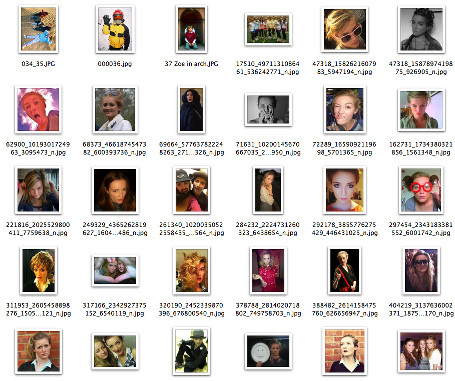
We then collected around 300 pictures of the same person at various stages of their life.
Using the free MacOSaiX utility, we then specified the master image, mosaic tile size…

…and library to create the mosaic tiles:
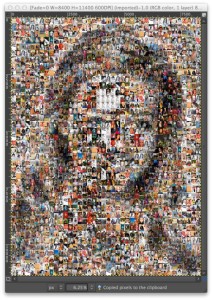
The initial result below wasn’t bad, albeit with not a lot of contrast. More significantly, the software wasn’t able to complete the mosaic (awarding a quality score of 65%) because there weren’t enough light pictures to create the lighter areas of the face, as seen in the forehead and right hand side of the subject’s nose:
We then used the free Gimp image processor to batch process a copy of our tile library, setting the brightness and contrast to create lighter versions of all 300 photographs in the library.
The resulting library now had 600 photographs, giving MacOSaiX a wider range of choice to match tiles to each of the 40 x 40 tiles on the master photograph.
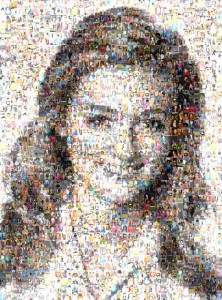
When you zoom in (or move closer to the printed version) you “loose” the master photograph and end up looking at all of the individual tiles that make up the master.
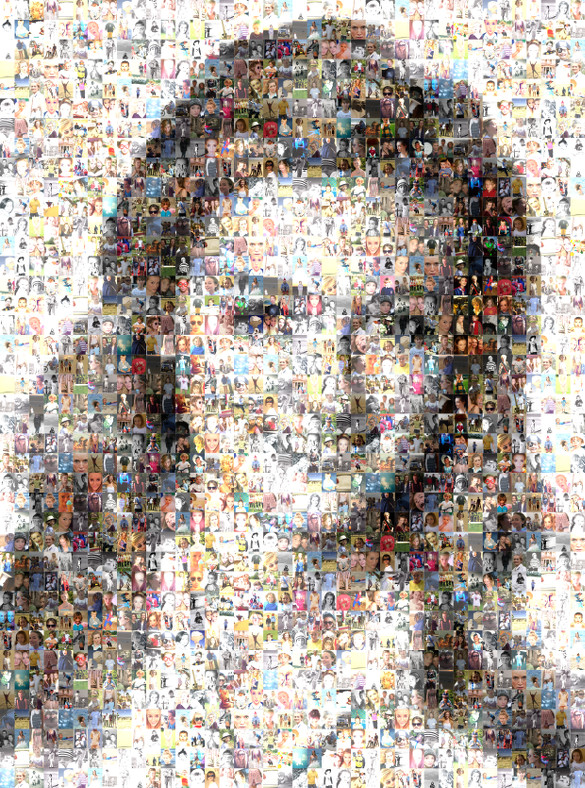
Print Resolution Magic
The really cool thing with this software is that you can start with a relatively low resolution master photograph and because each tile is [ideally] made from separate high resolution images, the result can be printed at a MUCH larger size (at the same DPI resolution) than the original master image.
In our example, a rough calculation shows that the original master and resulting mosaic photographs may be printed as follows:
B&W to Colour Magic
The other really cool thing is that you can create a colour mosaic photograph from a black and white master photograph. MacOSaiX doesn’t care what you are using and will take care of these differences automatically for you. The resulting effect is really quite stunning and you’re left staring at it from afar and then close up for hours!
Our Top Tips
If you fancy giving it a go yourself, here’s some pointers in the right direction:
1. Pick a master photograph with good contrast, limited background and “interfering” elements
2. Make sure the master is a decent size, say 2000 pixels wide/high
3. This is where you’ll spend the most time! Select at least a couple of hundred photographs for your mosaic tile library. Too few and the finished result will have too much repetition. In the example above, we used a 40 x 40 tile grid which is 1600 tiles and populated them from a library 0f 600 photographs which means each photo will get used around 2 to 3 times. Crop them to the same aspect ratio that your tiles will use. In our example, because the master photography is taller than it is wide, each mosaic is roughly 1:1.5 You could equally set it up so that each pixel was square (1:1) and in that case you’d need to prepare your tile library as cropped squares too. If you don’t do this, you’ll still get a mosaic photograph but when you zoom in, you’ll probably see peoples heads cut off due to automatic cropping.
4. MacOSaiX provides a fade option which is used to set the amount of the original master photograph that is combined with the completed mosaic. In practice, if you reach a Mosaic Quality score of above 80%, we don’t think you need it but it’s there if you feel otherwise.
5. Use the zoom function in MacOSaiX to check that your tile photographs are as you expect. Note that you can click on each tile and change it for a different image of you want.
6. Save your mosaic photograph using the maximum resolution and the TIFF format for the best quality and convert to JPG as required, for example by online printing services.
7. Print in style! You’ve put the effort in so why not print it on a decent media. Many online services allow you to print on to canvas and the result is simply stunning.
Need Our Help?
If you need help creating your own mosaic or are interested in a graphic design and presentation services, why not contact us for a free no-obligation discussion.

Hi, we are looking for a company that would do a mosaic like the one on your website, is this something that you do or do you just advise on how to achieve?
Hi Jules,
We would be happy to design a custom mosaic based on your requirements. If you’d like more info, please click the Contact link on our website and let us know what you’d like to do and we can discuss further.
Jamie.