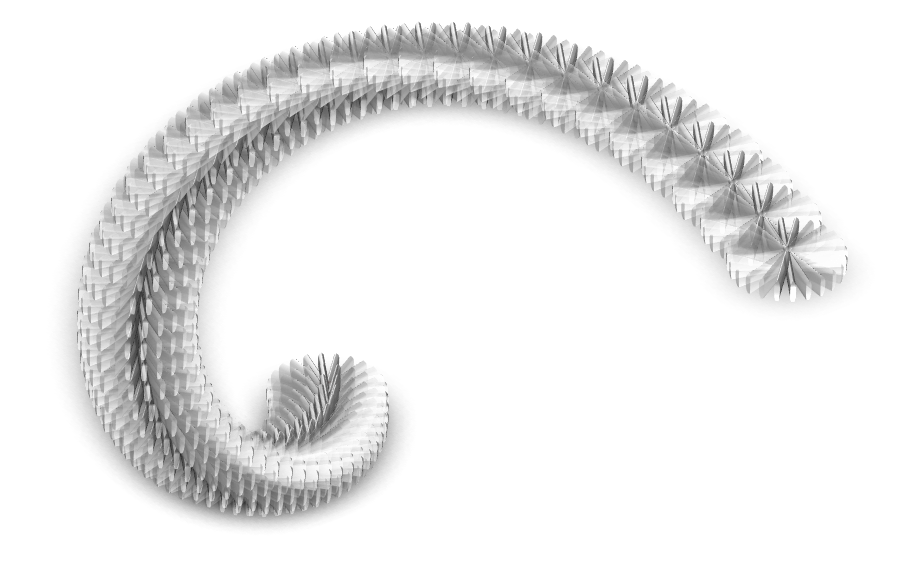
The Circlify add-in for PowerPoint was updated recently and adds a new spiral effect that can be used to create some really cool effects.
As they say on TV, here’s one we created earlier.
Do I hear cries of:
No way did you create that in PowerPoint!
The simple answer is “Yes I did” and furthermore, it took me less that a minute!
Let’s see how it was done.
Overview
This was a two-stage Circlify operation. The first was to create a circular pattern of 24 lines (we realised later we could of used 12!) which were then grouped and used as the object for the second Circlify operation using the new spiral feature.
Step 1 : Circlify with a circle
- Using the PowerPoint shapes library, draw a plain straight line on your slide, not too big:

- With the shape selected, open Circlify from the PowerPoint ribbon:
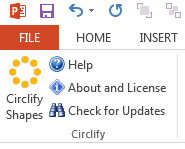
- Set the guide to something like this:
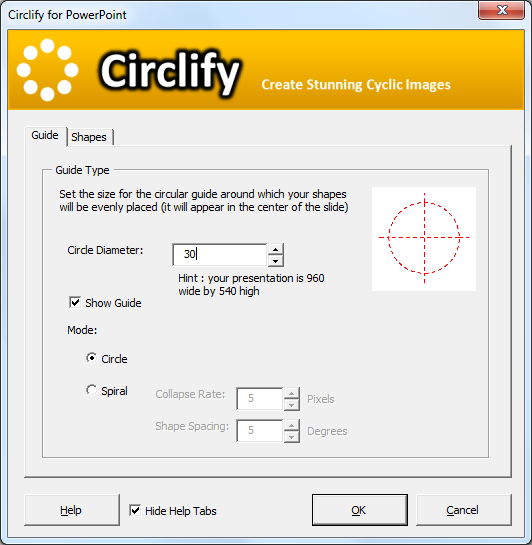
- Then switch to the shapes tab and set that up like this:
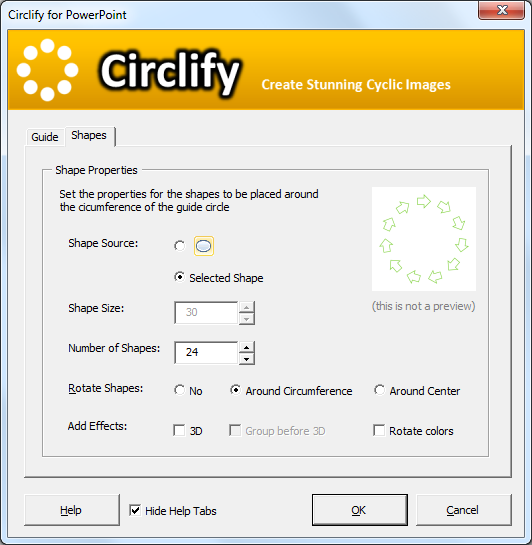
- Click OK and you should end up with a set of lines on your slide which you can then group:
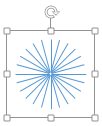
Step 2 : Circlify with a spiral
- With the group from the previous step selected, open Circlify again.
- Set the guide to spiral this time, with these settings:
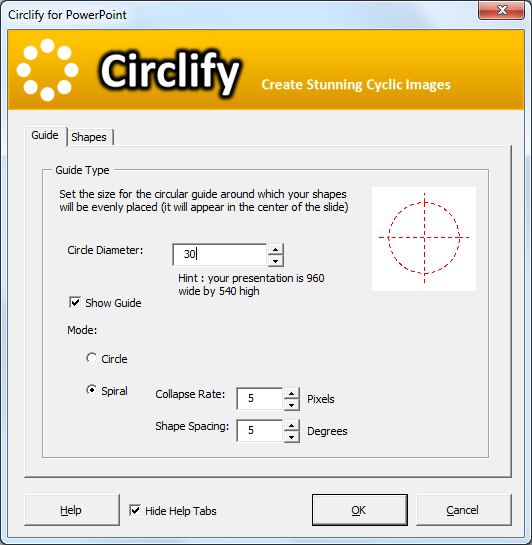
- Switch to the Shapes tab and set it up as follows:
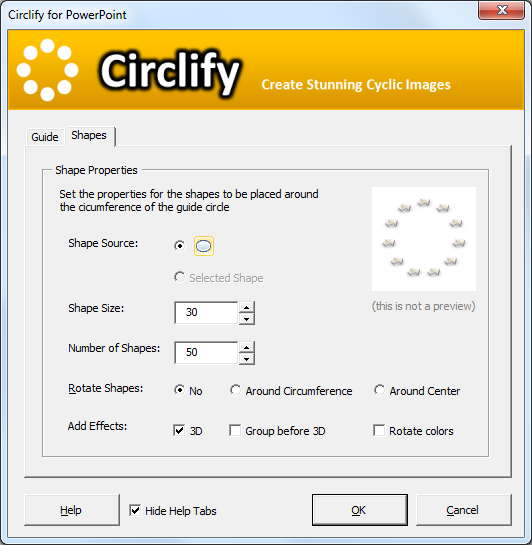
- Click OK and hey presto, you have your graphic!
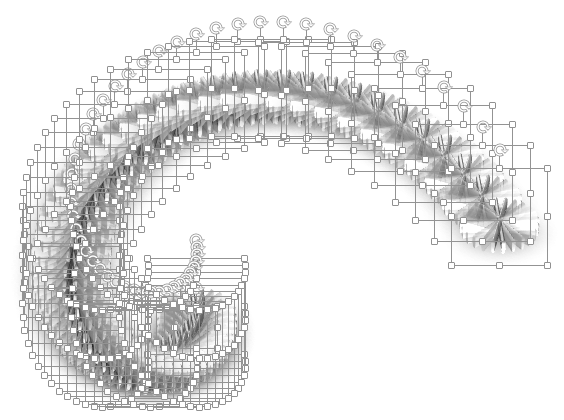
- You can now edit it with the standard PowerPoint tools or export it as a PNG with transparency as we did to create the original image at the top of this post.
What can you create?
The possibilities of what can be done with Circlify really are infinite. What can you create? Let us know and we’ll post the most impressive creations in a special gallery on youpresent.co.uk.

