They say a picture speak a thousand words.
Sometimes though, you’d like to control the speed at which those thousand words are delivered to your audience!
A great way of doing this is to gradually reveal your picture during your slide show. The built in animations in PowerPoint can do a good job for you but if you wanted to do it by revealing several sections of the picture either automatically or with each mouse click, it gets a bit more complicated.
The free macro below creates a new slide, adds four copies of your picture and crops them to recreate the original picture. You can of course do this manually using the crop tools in PowerPoint and Indezine have a nice article to show you how to do this. Our mathematical macro approach guarantees the exact result every time, at speed, without any manual interaction.
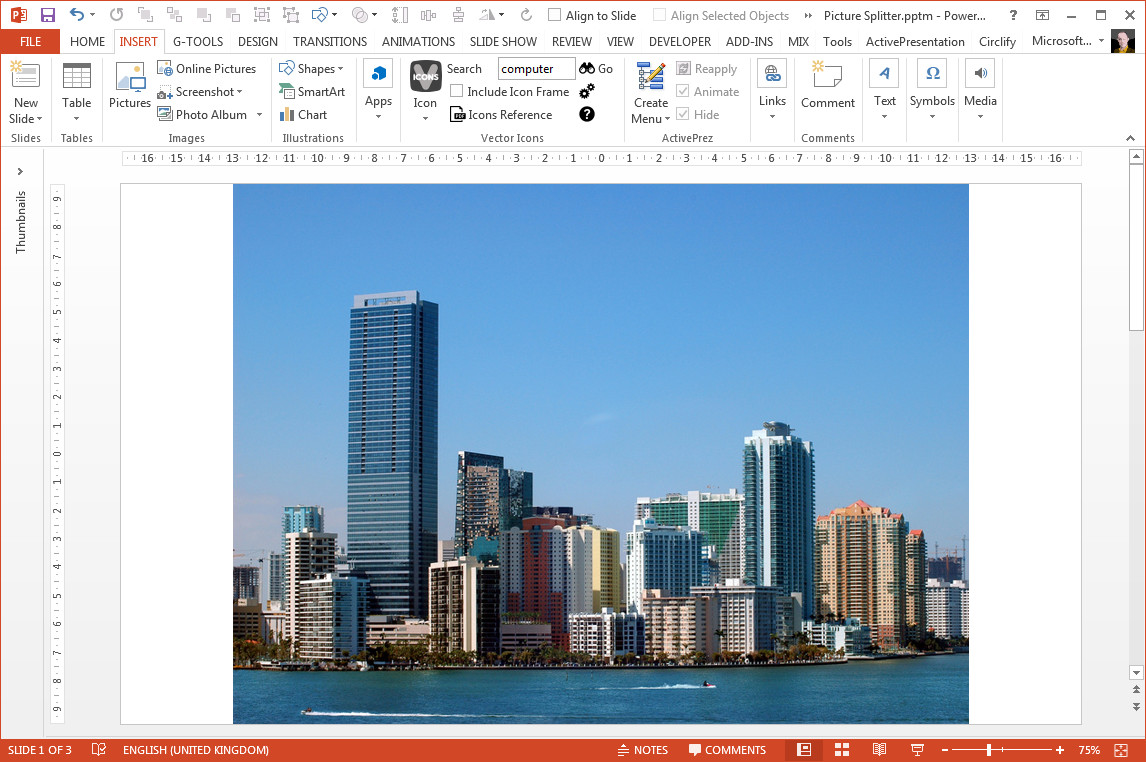
Here’s an example of a photograph we inserted from Office Online Pictures:
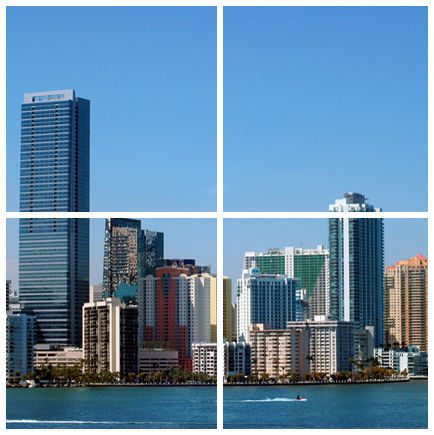
After running the macro (which takes less than 1 second!) we get four new pictures on a new slide. We’ve set a white border to highlight the individual new pictures otherwise the screenshot would be identical:
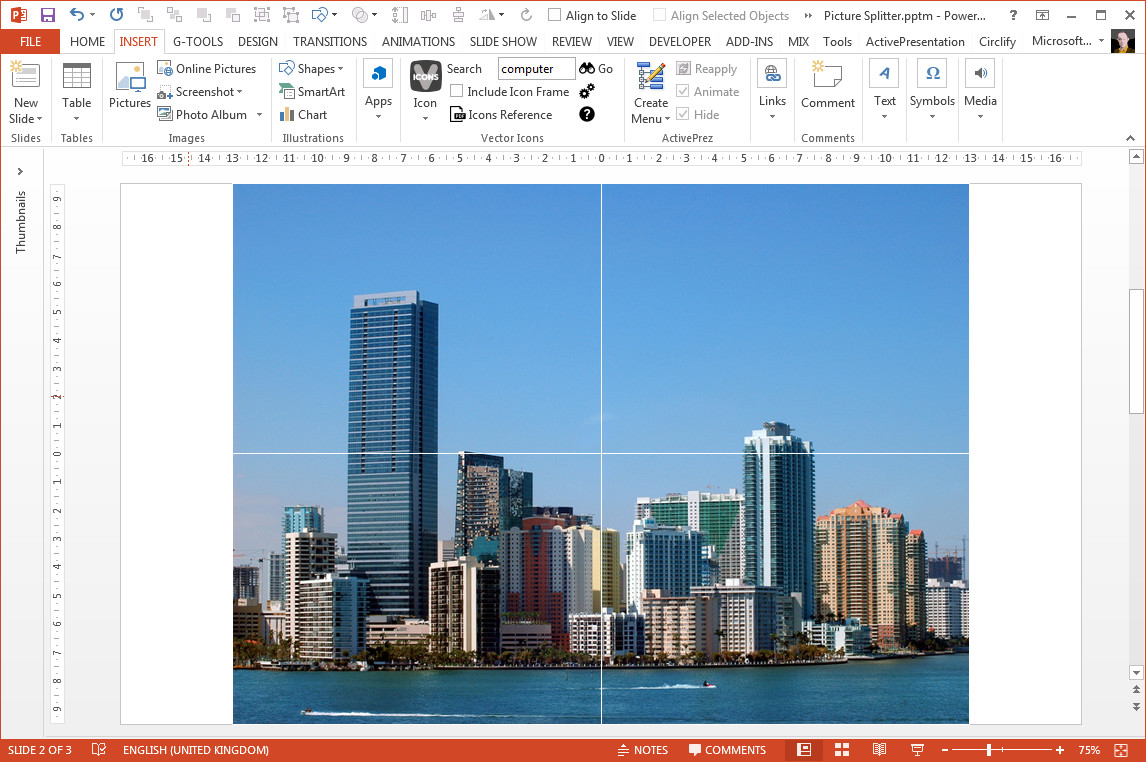
Once you have your four quarters of the original picture, you can then add your chosen animation effect and triggers to reveal the picture in your preferred style. We like the fade effect with the first picture set to appear on click and then the other three to appear automatically after each other.
Doing More
An extended version of this feature that adds the ability to define the number of rows and columns plus automatic animation creation is available in our G-Tools add-in which also includes a host of other useful text, group, chart and color palette tools.
Using The Macro
If you’ve never used a VBA macro in PowerPoint before, check out our short tutorial which explains how to insert a macro in PowerPoint for the PC or Mac.
Once the macro is in your presentation, just select a picture and press Alt+F8 to run the MakePictureQuarters macro. Make sure that your picture isn’t already cropped as this will “confuse” the macro in its current form.
The Macro
This macro is provided under the Creative Commons attribution licence. That means you’re free to use it and modify it and all we ask in return is that you credit us with the original creation as described in the code.
' VBA Macro for PowerPoint to split picture into 4 equal parts
'----------------------------------------------------------------------------------
' Copyright (c) 2014 YOUpresent Ltd.
' Source code is provide under Creative Commons Attribution License
' This means you must give credit for our original creation in the following form:
' "Includes code created by YOUpresent Ltd. (YOUpresent.co.uk)"
' Commons Deed @ http://creativecommons.org/licenses/by/3.0/
' License Legal @ http://creativecommons.org/licenses/by/3.0/legalcode
'----------------------------------------------------------------------------------
' Purpose : Copies the user selected picture, creates a new slide and adds 4 copies
'           of the picture, cropping them to recreate the original picture.
'
' Author : Jamie Garroch
' Date : 15SEP2014
' Website : http://youpresent.co.uk and http://www.gmark.co
'----------------------------------------------------------------------------------

Option Explicit

Sub MakePictureQuarters()
  Dim oSld As Slide
  Dim oShp As Shape
  Dim CurSlide As Integer
  Dim shpW As Single, shpH As Single, shpL As Single, shpT As Single
  Dim shpName As String
  Dim scaleW As Single, scaleH As Single

  ' Check that the user selection is a single shape of type picture
  If Not ActiveWindow.Selection.Type = ppSelectionShapes Then GoTo selectionerror
  If Not ActiveWindow.Selection.ShapeRange.Count = 1 Then GoTo selectionerror
  If Not ActiveWindow.Selection.ShapeRange(1).Type = msoPicture Then GoTo selectionerror

  ' Get the current slide index
  CurSlide = ActiveWindow.Selection.SlideRange.SlideIndex

  ' Get dimensions of selected picture
  Set oShp = ActiveWindow.Selection.ShapeRange(1)
  shpName = oShp.Name
  shpT = oShp.Top: shpL = oShp.Left: shpW = oShp.Width: shpH = oShp.Height

  ' Copy the picture to the clipboard
  oShp.Copy

  ' Add a new slide to the presentation after the currently selected slide, using the same layout
  ActivePresentation.Slides.AddSlide CurSlide + 1, ActivePresentation.Slides(CurSlide).CustomLayout
  CurSlide = CurSlide + 1
  ActiveWindow.View.GotoSlide CurSlide

  ' The CropXXX functions reference the original image dimensions so if the image has been scaled, we need to know the scale ratio
  ' but their are no readable properties for scale ratio so we have to rescale to 100% to work it out and then rescale!
  oShp.ScaleHeight 1, msoTrue: oShp.ScaleWidth 1, msoTrue
  scaleH = shpH / oShp.Height: scaleW = shpW / oShp.Width
  oShp.ScaleHeight scaleH, msoTrue: oShp.ScaleWidth scaleW, msoTrue

  ' Create a copy of the image and cropt to the Top Right Corner
  Set oShp = ActivePresentation.Slides(CurSlide).Shapes.Paste(1)
  oShp.Name = shpName & " (top right)"
  oShp.PictureFormat.CropLeft = shpW / scaleW / 2
  oShp.PictureFormat.CropBottom = shpH / scaleH / 2

  ' Create a copy of the image and cropt to the Top Left Corner
  Set oShp = ActivePresentation.Slides(CurSlide).Shapes.Paste(1)
  oShp.Name = shpName & " (top left)"
  oShp.PictureFormat.CropRight = shpW / scaleW / 2
  oShp.PictureFormat.CropBottom = shpH / scaleH / 2

  ' Create a copy of the image and cropt to the Bottom Right Corner
  Set oShp = ActivePresentation.Slides(CurSlide).Shapes.Paste(1)
  oShp.Name = shpName & " (bottom right)"
  oShp.PictureFormat.CropLeft = shpW / scaleW / 2
  oShp.PictureFormat.CropTop = shpH / scaleH / 2

  ' Bottom Left Corner
  Set oShp = ActivePresentation.Slides(CurSlide).Shapes.Paste(1)
  oShp.Name = shpName & " (bottom left)"
  oShp.PictureFormat.CropRight = shpW / scaleW / 2
  oShp.PictureFormat.CropTop = shpH / scaleH / 2

  Exit Sub
selectionerror:
  MsgBox "Please select a single picture object.", vbCritical + vbOKOnly, "Picture Splitter by youpresent.co.uk"
End Sub
Can’t Use the Macro or G-Tools Add-In?
If you don’t have VBA installed in Office or your organisation policy prohibits you from using macros or installing add-ins, you can learn how to do manual cropping at Indezine.
Indezine shows how to Slice and Animate Pictures in PowerPoint
Need Help?
PowerPoint automation can improve productivity to an amazing degree. If you’d like custom macros developed or an add-in developed that adds your own specified buttons to the PowerPoint ribbon, contact us to discuss your ideas.
[contact-form][contact-field label=’Name’ type=’name’ required=’1’/][contact-field label=’Email’ type=’email’ required=’1’/][contact-field label=’Website’ type=’url’/][contact-field label=’Comment’ type=’textarea’ required=’1’/][/contact-form]